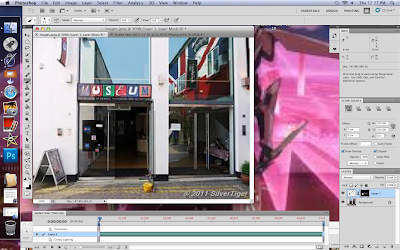
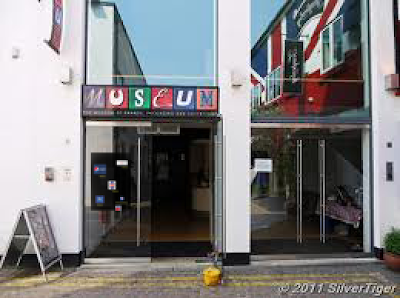
Step 2- I then added them both to Photoshop and dragged the Timeline over on the Museum image and also zoomed it down to size and put it over the door.
Step 3- I made sure that in the bottom left corner that the white rectangle overlapped the black one and clicked the tick at the bottom of the top toolbar.

Step 4- I pressed the small circle within a rectangle button to create a Mask Layer, selected the Timeline Poster and pressed cmd+I to invert it to the Mask Layer.
Step 5- I selected the paint brush,
selected a smaller size, opacity set at
37% and then gently painted over
where the poster was to begin with
and it gradually began to show
through, thus completing the image

Step 6- Make sure during steps 2, 4
and 5 that you take screenshots to
document your work.

No comments:
Post a Comment