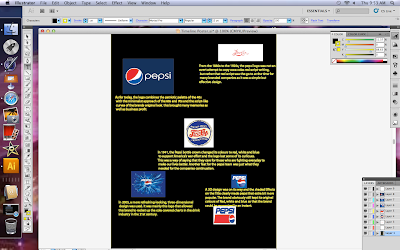
Step One - Open Illustrator and create a layer by clicking the small button in the layers panel in the bottom right of the screen.
Step Two - After you have made a layer, select the rectangle in the toolbar on the left side of the screen and drag it across the centre of the screen leaving space in a reasonable size for writing and uploading images.
Step Three - Click a colour of your
choice to change the rectangle and then create a new layer by repeating Step One and upload any files or images you need before doing anything else as not to dis-organize anything or make it unreadable or lost.
Step Four - Create another layer and
click the small T icon and drag a small text box across under or above your information, image, file etc. and type whatever information you need
to provide.

Step Five - If there is any other
information you missed out on, repeat Step One and Step Four to complete your work activity.


No comments:
Post a Comment